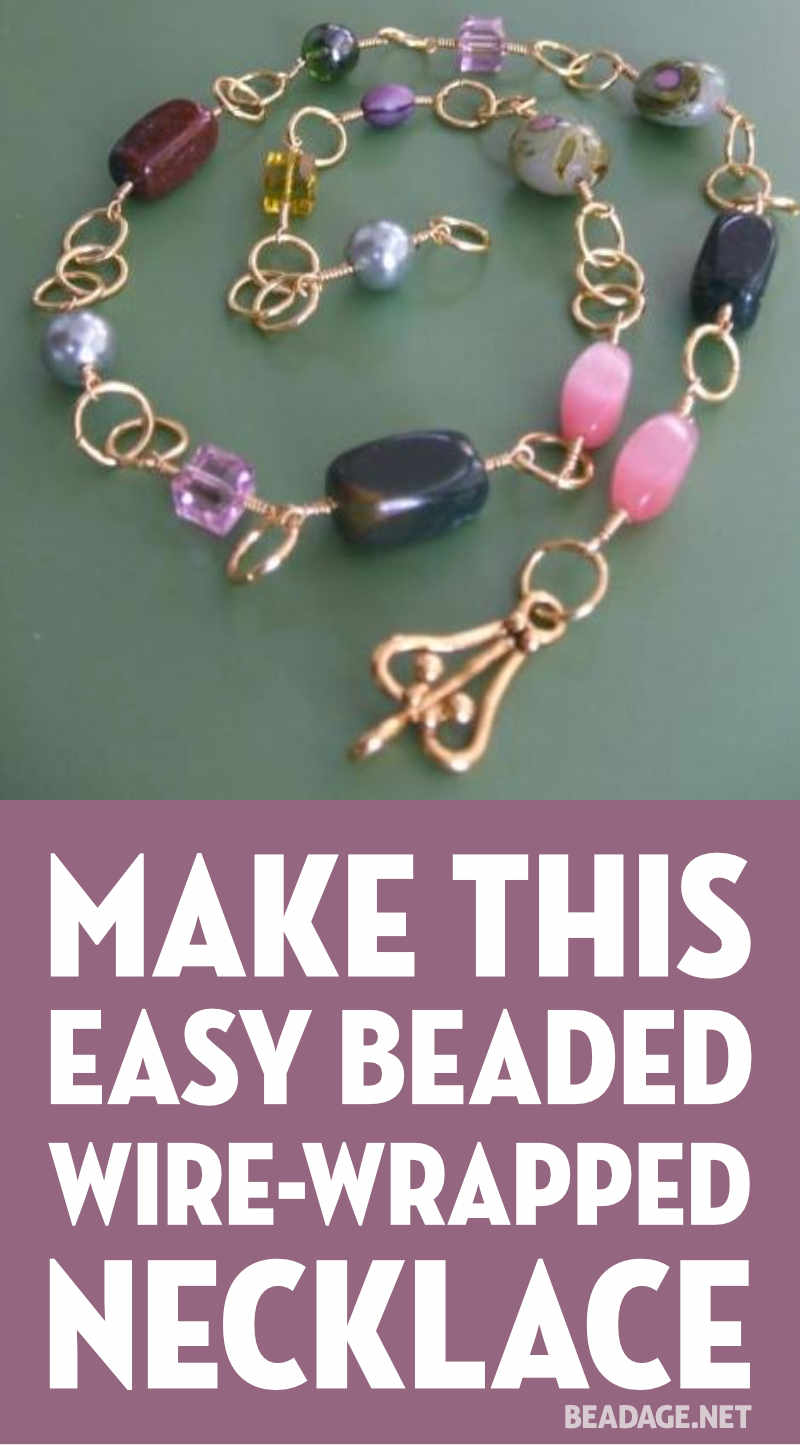
This necklaces uses basic wire-wrapping techniques, and is the perfect way to show off a unique collection of beads. Let’s get started!
Supplies
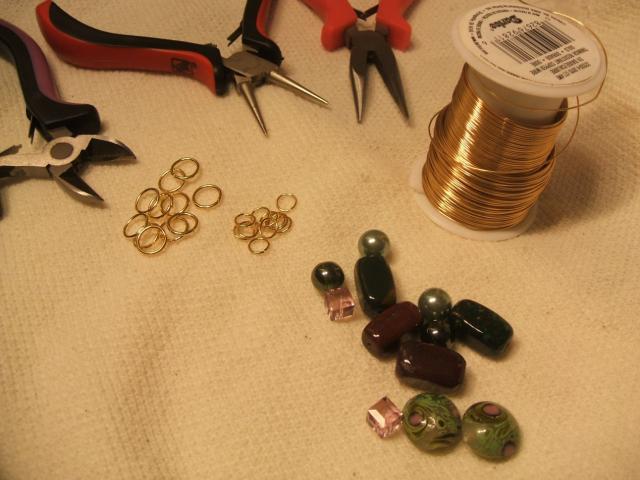
Tools
- round nose pliers
- chain-nose pliers
- wire cutters
Materials
- jump rings (the size is up to you)
- lots of colorful beads
- 24 gauge wire
- a hook clasp (only the hook part is needed)
Instructions
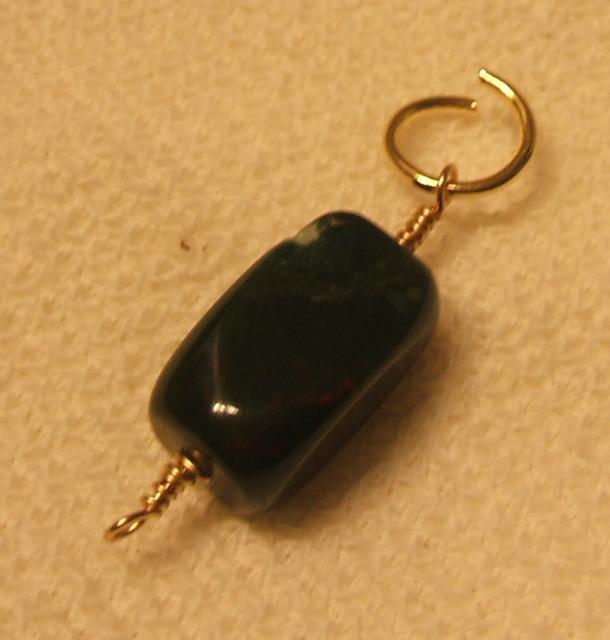
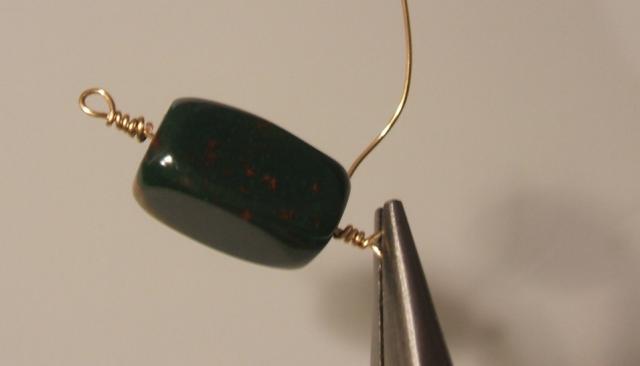 First we will wire-wrap each bead. Cut a length of wire, and make a loop in one end, leaving about two inches of tail. Wrap the tail around the wire, coiling away from you. Coil as close to the bead as you can, then snip any excess wire. Do the same on the other end, so that your bead is wrapped on both ends. Wrap every bead you are going to use.
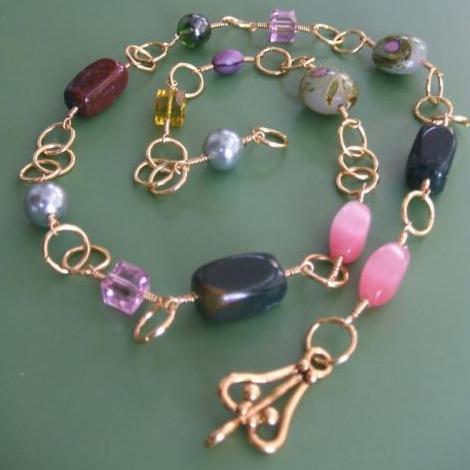
Lay out your bead order before putting the components together–a bead board is a great tool for this. A good rule of thumb is to arrange your beads so that each bead has a contrasting colored bead on either side of it.
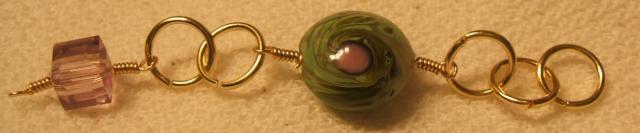
 Connect each bead component with your jump rings, using 1-3 jump rings between each bead. It’s up to you if you want to use the same number each time, or vary it randomly as I did in this example.
Add your hook clasp onto the first jump ring, and add a final jump ring to the other end. If you wish you can make it adjustable by adding additional jump rings onto the end. Be sure your jump rings are tightly closed, and you’re done!


")


")

")


 155 Feet 48 meters, Craft Wire, Jewelry wire, Artisan Wire Wrap, WRRI")


that looks awsome only i would choose to put jump rings between the beads at a equal amount but you did inspire me