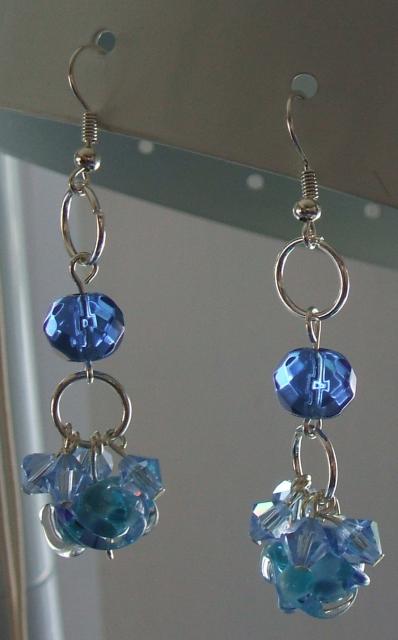
These cool and breezy earrings are a warm weather delight you’re sure to enjoy all year round, and they’re as simple to make as they are pretty!
Supplies
Tools
Materials
- two earwires
- four 10mm jump rings
- four eyepins
- eight headpins
- two blue faceted glass beads
- two turquoise swirled lampwork beads
- eight blue Swarovski crystals.
Techniques
Instructions
First, prepare all your crystals by threading them onto headpins, snipping away unnecessary excess, and putting a loop at the end of each. Set these aside. Put your blue glass beads and your lampwork beads onto eyepins in the same manner.
Open your first jump ring and put it through the eye of your earwire. While the jump ring is still open, slip the blue glass bead onto it, and close your jump ring. Open your second jump ring and put it through the bottom eye of the blue bead’s eyepin. While the jump ring is still open, slide on two crystals, the lampwork bead, then two more crystals. Close your jump ring, repeat the process for your second earring and you’re done!


Hi-I thought I would try my first project with your design. But I find that there are many different kinds of headpins, many sizes of Swarovski crystals. Can you include more specifics? Thank you
Hi Debbie,
The great thing about these fun projects is that you can cater them to suit your tastes. I have used here really small Swarovski crystals, but you can use larger ones too, if you like. The size shown here is the smallest size that I typically use with such crystals. Also, you can use the short headpins for this project (I usually just use the two sizes: long ones and short ones); you can use the long ones if that’s all you have, and you’ll just have to snip them a little shorter. Hope this project turns out well for you!
Happy beading,
Michele