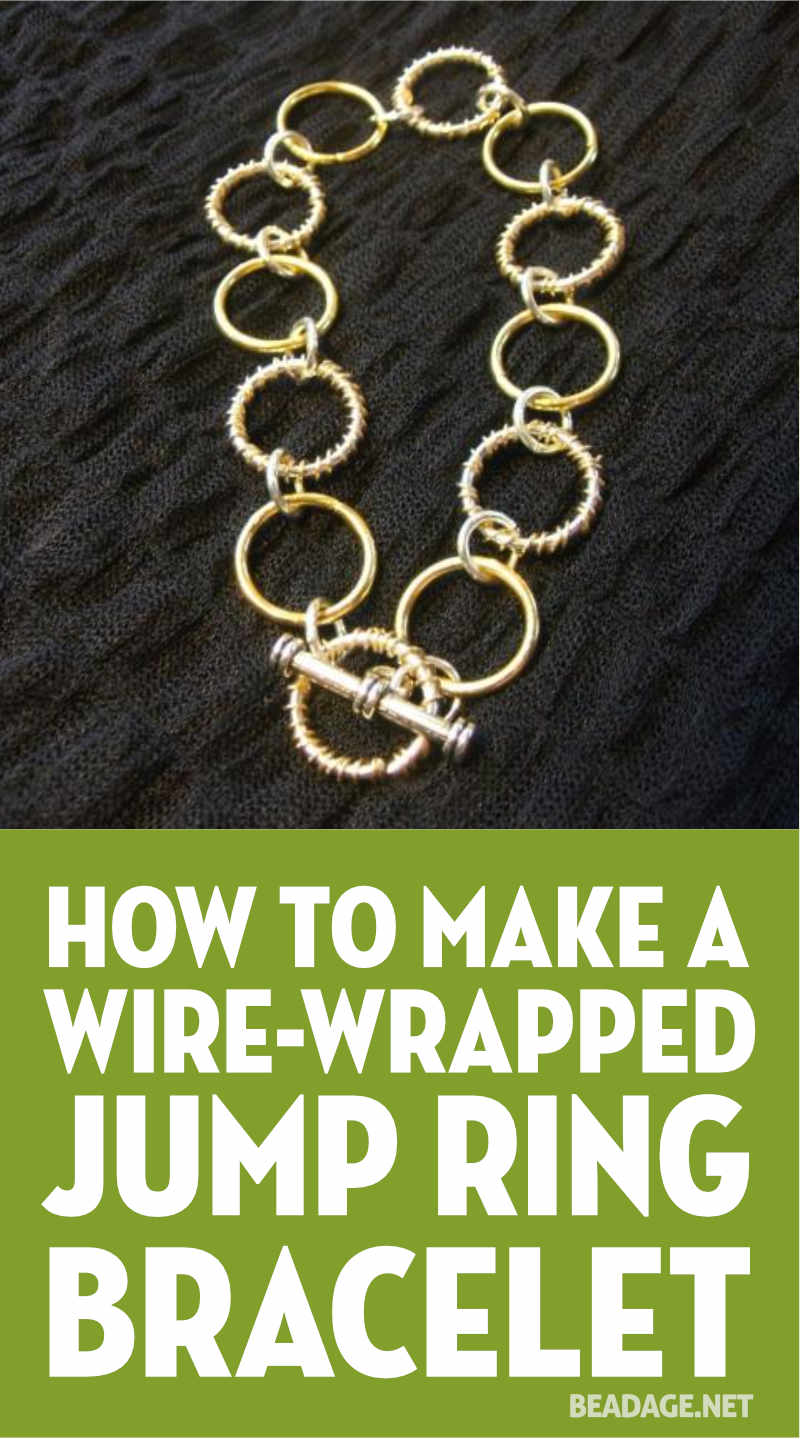
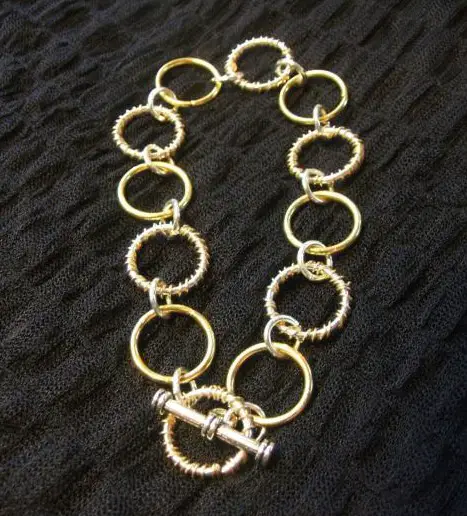
This is a classy bracelet you can make with just jump rings and wire!
Supplies
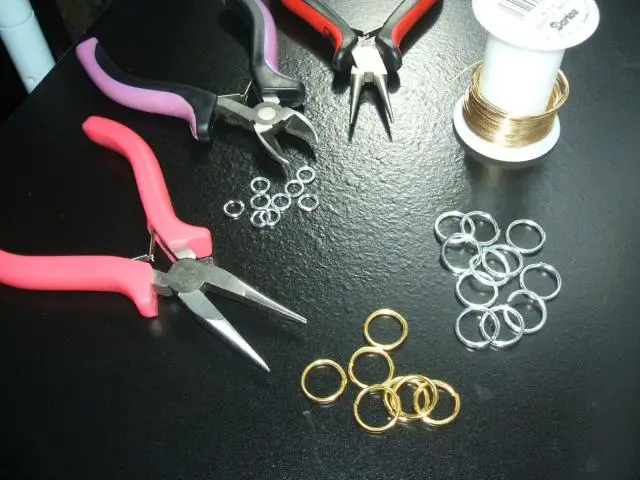
Tools
Materials
- gold and silver 14mm jump rings – thick gauge ones so they are durable
- silver 8mm jump rings
- 24 gauge gold-colored wire
- toggle clasp (only bar part is needed)
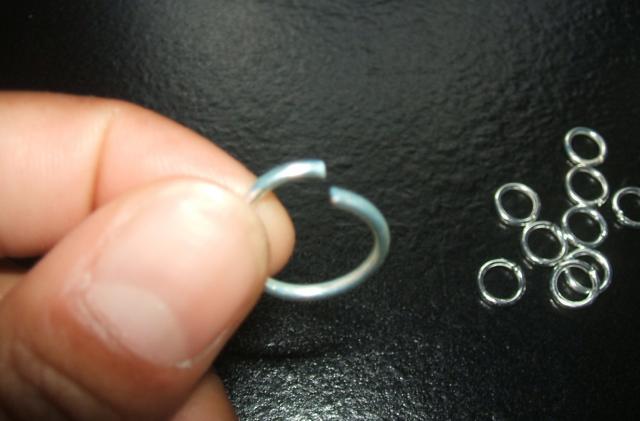 To start, open a 14mm jump ring.
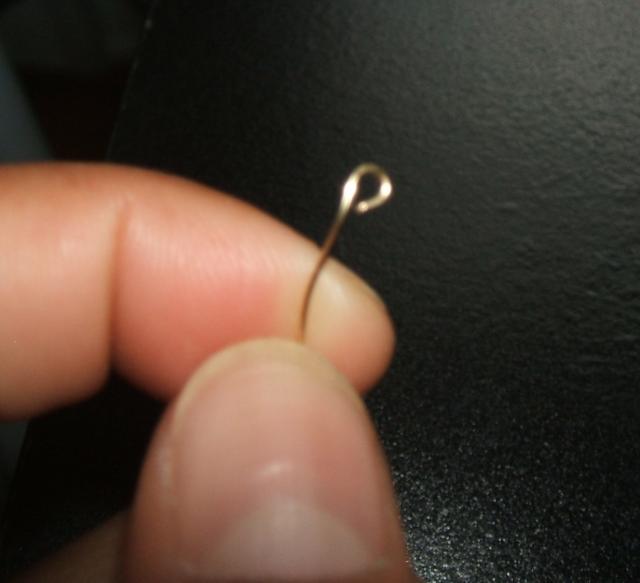 Cut a long piece of wire and make a small loop at one end that’s part way open.
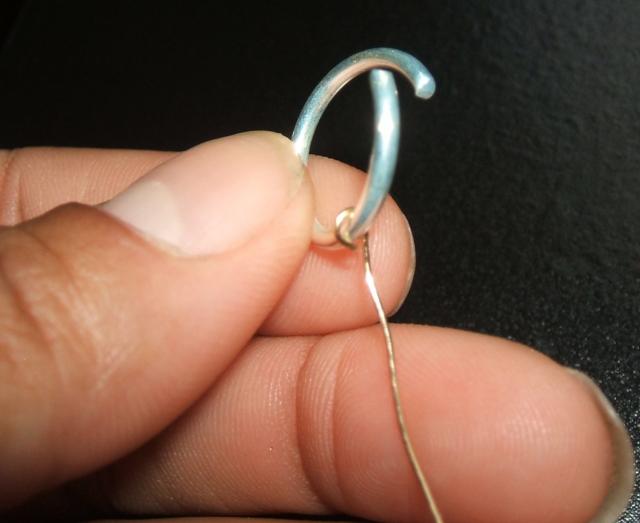 Slide it onto the open jump ring as a starting point for coiling the wire around the jump ring.
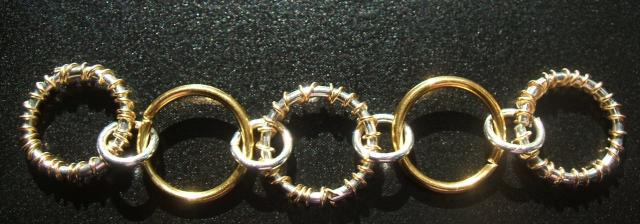
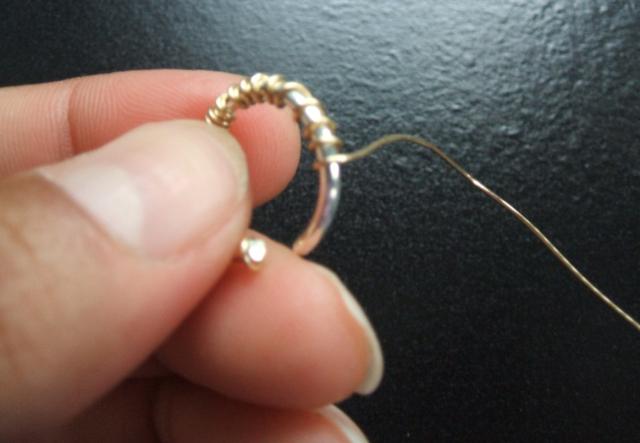 Wind the wire away from your body, “scooting” the wire to the left as you coil. Keep it loose–if you coil it too tight, you won’t be able to scoot the wire around to the left like you need to. Also make sure your coils aren’t too close together–let the silver shine through to create a two tone effect.
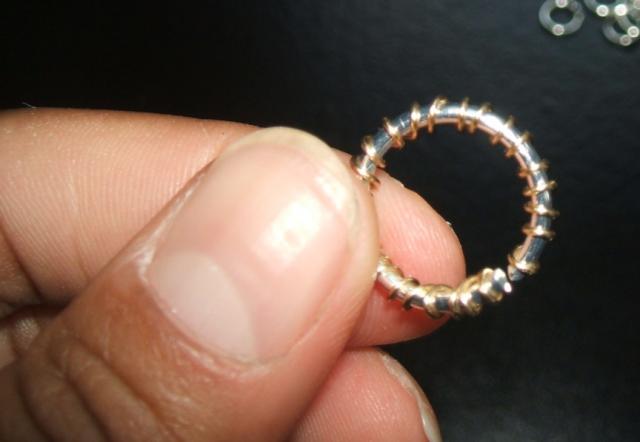 Once you are done winding, snip the wire on both ends as close to the jump ring as possible. Using your chain-nose pliers, press the snipped ends snugly against the jump ring. Now close your jump ring.
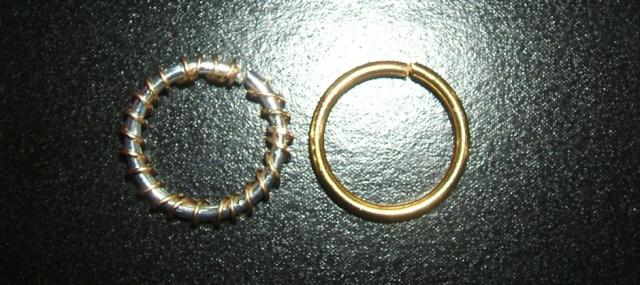 Place a gold jump ring next to the wire-wrapped one. Open a small, silver jump ring, and use it to connect the two larger jump rings.
 When your bracelet is as long as you want it to be, attach the toggle clasp to your last 14mm ring using a 8mm jump ring. The toggle clasp can be inserted through any of the larger jump rings, making the bracelet adjustable.
As a variation, you can also use silver wire to coil around the gold rings and/or intersperse gold 8mm jump rings as well as silver ones. Enjoy!


")

")


 155 Feet 48 meters, Craft Wire, Jewelry wire, Artisan Wire Wrap, WRRI")


, Biggs Picture Jasper Necklace, Jasper Pendant, Pendantlady")


I LOVE this. I’m going to try and make this one:)
Fiona,
Glad you like it! This was a project whose results were most pleasing to me. I ended up giving the bracelet to my cousin, who also loved it. I told her it was no biggie…that I could easily whip up another one. I actually wore mine as an ankle bracelet…I loved the versatility!
Happy beading!
Michele
Thankyou Michele for this beautiful idea. It’s very easy so I’m going to try it, and also I think it is posible to hang other beads to change it.
How do you keep the jump rings from reopening? Do you have to solder them shut? JBW
Hi Jb!
I didn’t solder the jump rings shut…I tried closing them and that kept them together pretty well. Enjoy creating this!
Michele